How to Remove Printer from Computer
Introduction
Removing a printer from your computer might seem like a simple task, but there are key steps to ensure it’s done correctly. Whether you’re looking to declutter your list of devices or experiencing issues with a specific printer, this guide will walk you through the process on both Windows and macOS platforms. Let’s dive into the detailed steps to ensure a seamless removal process.

Preparing to Remove a Printer
Before you begin removing your printer, it’s essential to prepare. This means:
- Double-checking Connections: Ensure the printer is disconnected from your computer. Physically unplug any USB cables. If using a network printer, make sure it’s disconnected from the network.
- Closing All Print Jobs: Ensure there are no pending print jobs. Open the printer queue and cancel any ongoing tasks.
- Backing Up Printer Drivers and Settings: In case you're planning to reinstall or replace the printer, consider backing up the drivers and settings. This will save you time if you decide to reconnect the printer later.
Ensuring the above steps are followed will help mitigate any potential issues that may arise during the process.
Removing a Printer on Windows
Accessing the 'Devices and Printers' Menu
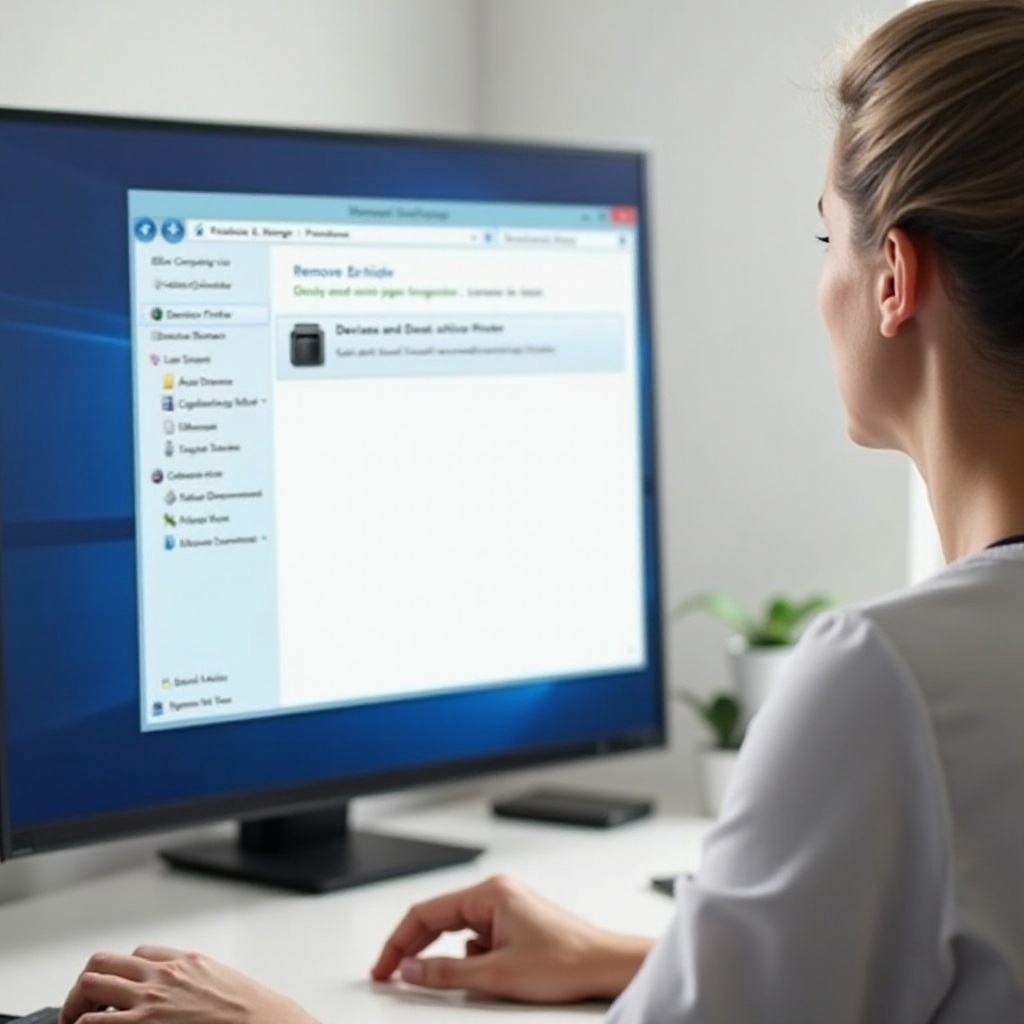
To begin, you’ll need to access the 'Devices and Printers' menu:
- Click on the Start menu.
- Type Control Panel in the search bar and press Enter.
- In the Control Panel window, locate and click on Devices and Printers.
This menu shows all the devices currently connected to your computer, including your printer.
Selecting and Removing the Printer
Once you have accessed the 'Devices and Printers' menu:
- Locate the printer you wish to remove.
- Right-click on the printer’s icon.
- Select Remove Device from the context menu.
- Confirm the action when prompted.
This step removes the printer from your list of devices.
Deleting Associated Drivers
Deleting the printer isn't always enough to ensure complete removal, as the drivers may still remain. To delete associated drivers:
- Open Device Manager by typing it in the Start menu search bar and pressing Enter.
- Under Print queues, find the printer you have just removed.
- Right-click and select Uninstall device.
- To complete the process, check the box Delete the driver software for this device and then click Uninstall.
By removing the drivers, you can avoid potential conflicts with future printer installations.

Removing a Printer on macOS
Accessing 'System Preferences
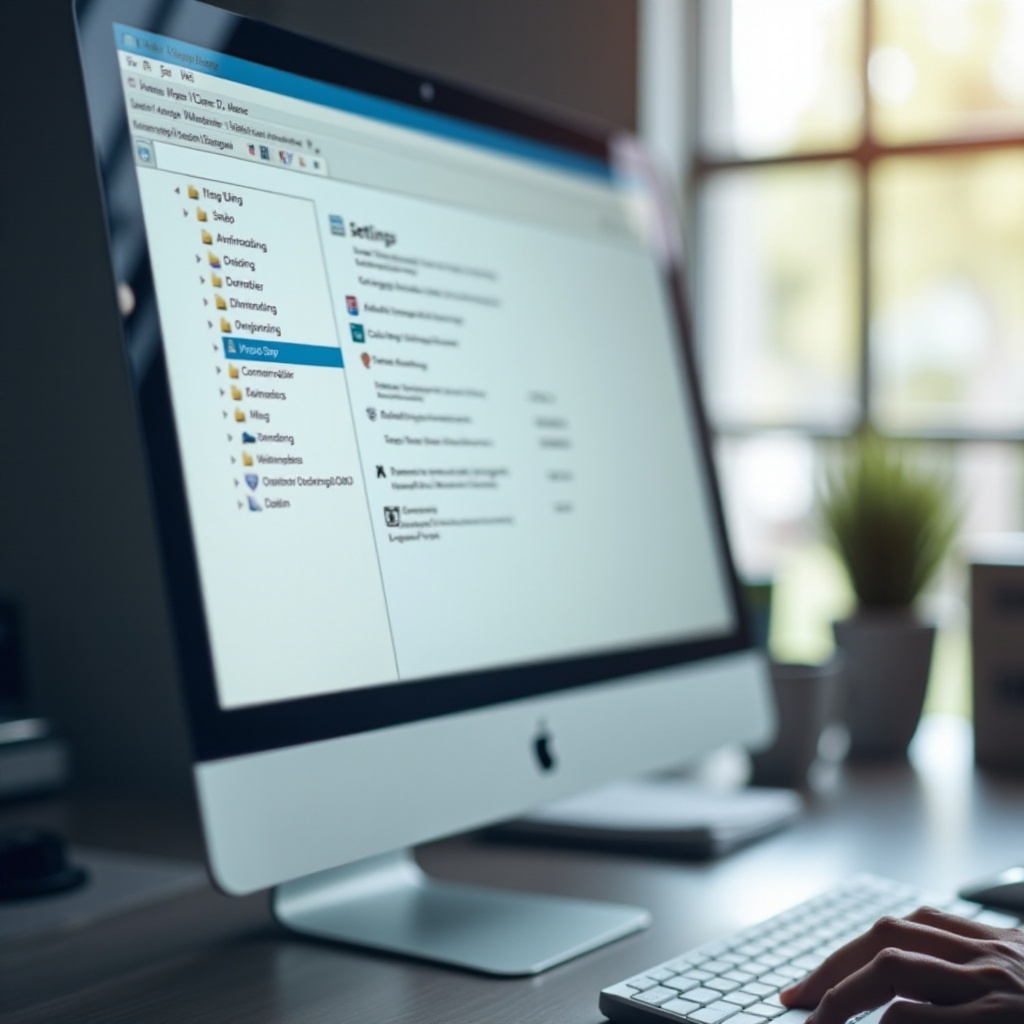
First, access the necessary settings:
- Click the Apple icon in the top-left corner of the screen.
- Select System Preferences.
- In the 'System Preferences' window, click on Printers & Scanners.
Removing the Printer from the 'Printers & Scanners' Menu
Next, remove the printer:
- In the 'Printers & Scanners' window, you’ll see a list of available printers.
- Select the printer you want to remove.
- Click the minus (-) button below the list.
- Confirm the removal when prompted.
This removes the printer from the printer list on your Mac.
Cleaning Up Remaining Software
Similar to Windows, leftover drivers can cause issues. To ensure complete removal:
- Open Finder.
- Click on Go in the menu bar and select Go to Folder....
- Type /Library/Printers/ and press Enter.
- Locate and delete the folder associated with the printer.
By cleaning up the remaining software, you ensure a clean slate for any future printers you might add.
Troubleshooting Common Issues
Dealing with Stubborn Printers
Sometimes a printer refuses to be removed. Here’s what you can do:
- Restart Your Computer: A reboot can sometimes resolve minor issues.
- Try Safe Mode: Boot into Safe Mode to remove the printer. This mode prevents third-party drivers from loading, which might be causing the issue.
Using Command Prompt/Terminal
When standard methods fail, using Command Prompt on Windows or Terminal on macOS can help force the removal.
- Windows: Open Command Prompt as an Administrator and type
printui.exe /dl /n 'Printer Name'. - macOS: Open Terminal and use
lpadmin -x 'Printer Name'to remove the printer.
This direct approach can bypass issues that the graphical interface encounters.

Conclusion
Removing a printer from your computer is more than just unplugging a device. Whether you are using Windows or macOS, following these detailed steps ensures that the printer and its associated software are entirely removed, preventing future conflicts and keeping your system running smoothly.
FAQs
How do I remove a network printer from my computer?
To remove a network printer, follow the steps outlined for your respective operating system. Ensure you disconnect the printer from the network and remove it via the 'Devices and Printers' menu on Windows or 'Printers & Scanners' on macOS.
What should I do if the printer won’t remove from Windows?
If the printer refuses to remove, restart your computer and try again. Also, try disconnecting from the network or boot into Safe Mode. For persistent issues, use Command Prompt with the printui.exe command.
Is it necessary to delete printer drivers after removing the printer?
Yes, it’s recommended to delete associated drivers to prevent conflicts with future installations and to free up system resources. This ensures that your computer doesn't retain unnecessary files.
With this comprehensive guide, you’re now equipped to effectively remove printers from your computer, ensuring no remnants are left behind to hinder future printer installations.
Frequently Asked Questions
How do I remove a network printer from my computer?
To remove a network printer, follow the steps outlined for your respective operating system. Ensure you disconnect the printer from the network and remove it via the 'Devices and Printers' menu on Windows or 'Printers & Scanners' on macOS.
What should I do if the printer won’t remove from Windows?
If the printer refuses to remove, restart your computer and try again. Also, try disconnecting from the network or boot into Safe Mode. For persistent issues, use Command Prompt with the `printui.exe` command.
Is it necessary to delete printer drivers after removing the printer?
Yes, it’s recommended to delete associated drivers to prevent conflicts with future installations and to free up system resources. This ensures that your computer doesn't retain unnecessary files.


