Introduction
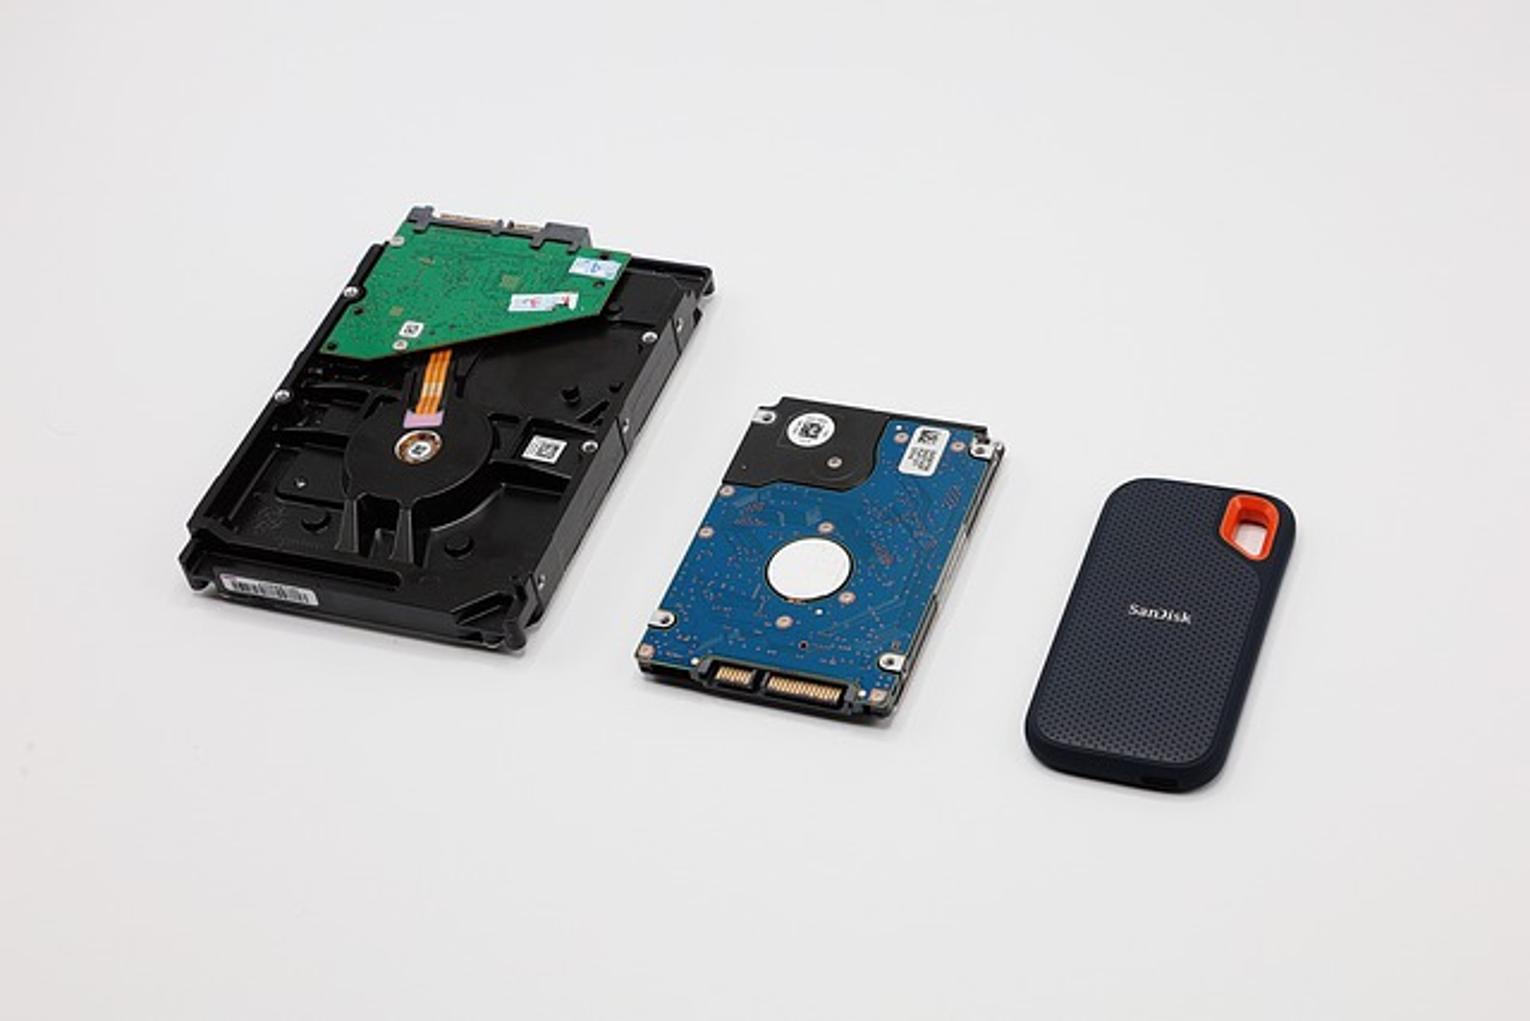
Formatting an external hard drive on a Mac might seem like a daunting task, but it’s actually quite straightforward when you know the steps. Whether you're preparing a new drive for use or reformatting an old one, it’s essential to understand how to properly format an external hard drive on a Mac. This guide provides a comprehensive step-by-step process, ensuring that your drive is ready for backup, file transfers, or any other purpose.
Before diving into the formatting process, it's crucial to recognize the importance of this task. Properly formatting your external hard drive ensures that it is optimized for use with your Mac, enhances compatibility, and can prevent data corruption issues. With this knowledge at hand, you’ll be equipped to manage your external storage devices efficiently.
Let's begin by exploring the different file system formats available for macOS to help you make an informed decision.
Understanding File System Formats for macOS
To successfully format an external hard drive on your Mac, understanding the available file system formats is key. macOS supports several file system formats, each with its own specific advantages. The most common ones are:
- APFS (Apple File System): Ideal for SSDs and internal drives on macOS High Sierra (10.13) and later. It provides faster performance and better support for encryption.
- Mac OS Extended (HFS+): Suitable for older macOS versions and is the default file system for mechanical drives.
- exFAT: Compatible with both macOS and Windows. Perfect for drives that will be used interchangeably between different operating systems.
- FAT32: Another cross-platform option but with a file size limit of 4GB and less efficient compared to exFAT.
Knowing these options allows you to choose the appropriate file system format depending on your needs and the type of files you plan to store.
Preparing for the Formatting Process
Before proceeding with formatting your external hard drive, a bit of preparation is necessary. Follow these steps to ensure a smooth process:
- Backup Data: Formatting will erase all data on the drive. Make sure to back up any important files to another storage location.
- Identify the Drive: Connect the external hard drive to your Mac and ensure it is recognized. It’s good practice to verify that the drive operates correctly before proceeding.
- Gather Information: Decide which file system format best suits your needs, based on the information provided in the earlier section.
With these preparations in place, you can now confidently move on to the actual formatting process, assured that no crucial data will be lost and that you’ve chosen the optimal file system format.
Step-by-Step Guide to Formatting an External Hard Drive on a Mac
Opening Disk Utility
- Launch Disk Utility: Open Finder, navigate to 'Applications,' then 'Utilities,' and double-click on 'Disk Utility.'
- Alternative Method: You can also open Disk Utility by using Spotlight. Press 'Command + Spacebar,' type 'Disk Utility,' and hit 'Enter.'
Selecting Your External Hard Drive
- Locate the Drive: In the Disk Utility window, you’ll see a list of internal and external drives on the left sidebar. Identify and select your external hard drive.
- Double-check: Ensure you've selected the correct drive to avoid accidentally formatting the wrong disk.
Choosing the Right File System and Formatting
- Select Erase: With your external hard drive selected, click the 'Erase' button at the top of the Disk Utility window.
- Naming the Drive: Enter a name for your drive in the 'Name' field.
- Select File System: Click the dropdown menu next to 'Format' and select your desired file system (APFS, Mac OS Extended, exFAT, or FAT32).
- Security Options: If needed, click on 'Security Options' to choose the level of secure erase. It’s generally safe to use the default setting unless you have sensitive data.
- Erase: Once confirming everything is correct, click 'Erase.' Disk Utility will format your external hard drive with the chosen parameters.
This step-by-step process ensures your external hard drive is formatted correctly, ready for use on your Mac.
Troubleshooting Common Formatting Issues
Sometimes, things might not go as planned. Here are some common formatting issues and their solutions:
- Drive Not Recognized: Ensure the drive is properly connected. Try using another USB port or cable.
- Disk Utility Errors: Restart your Mac and try again. If the problem persists, try verifying and repairing the disk using Disk Utility's 'First Aid' feature.
- Unable to Erase: Ensure you have administrative rights and that no files on the drive are in use.
Using Your Newly Formatted Drive
Once the formatting process is complete, you can start using your newly formatted drive. Transfer your backed-up data back to the drive, and it will be ready for regular use. Ensure you safely eject the drive when it's not in use to avoid potential data corruption.

Conclusion
Formatting an external hard drive on a Mac is an essential process for ensuring compatibility and performance. By following the steps outlined in this guide, you can confidently format your drive, whether you're preparing it for backups, file transfers, or general storage. Remember to choose the right file system, back up your data, and troubleshoot any issues that may arise.
Frequently Asked Questions
Can I format my external hard drive without losing data?
No, formatting will erase all data on the drive. Always back up important files before formatting.
Why can't I format my external hard drive using Disk Utility?
This could be due to connection issues, lack of administrative rights, or the drive being in use. Restarting your Mac or using a different USB port may help.
Which file system should I use for both Mac and Windows compatibility?
exFAT is the best choice for compatibility between macOS and Windows, as it supports larger file sizes and is efficient.